How to caulk baseboards and trim before painting
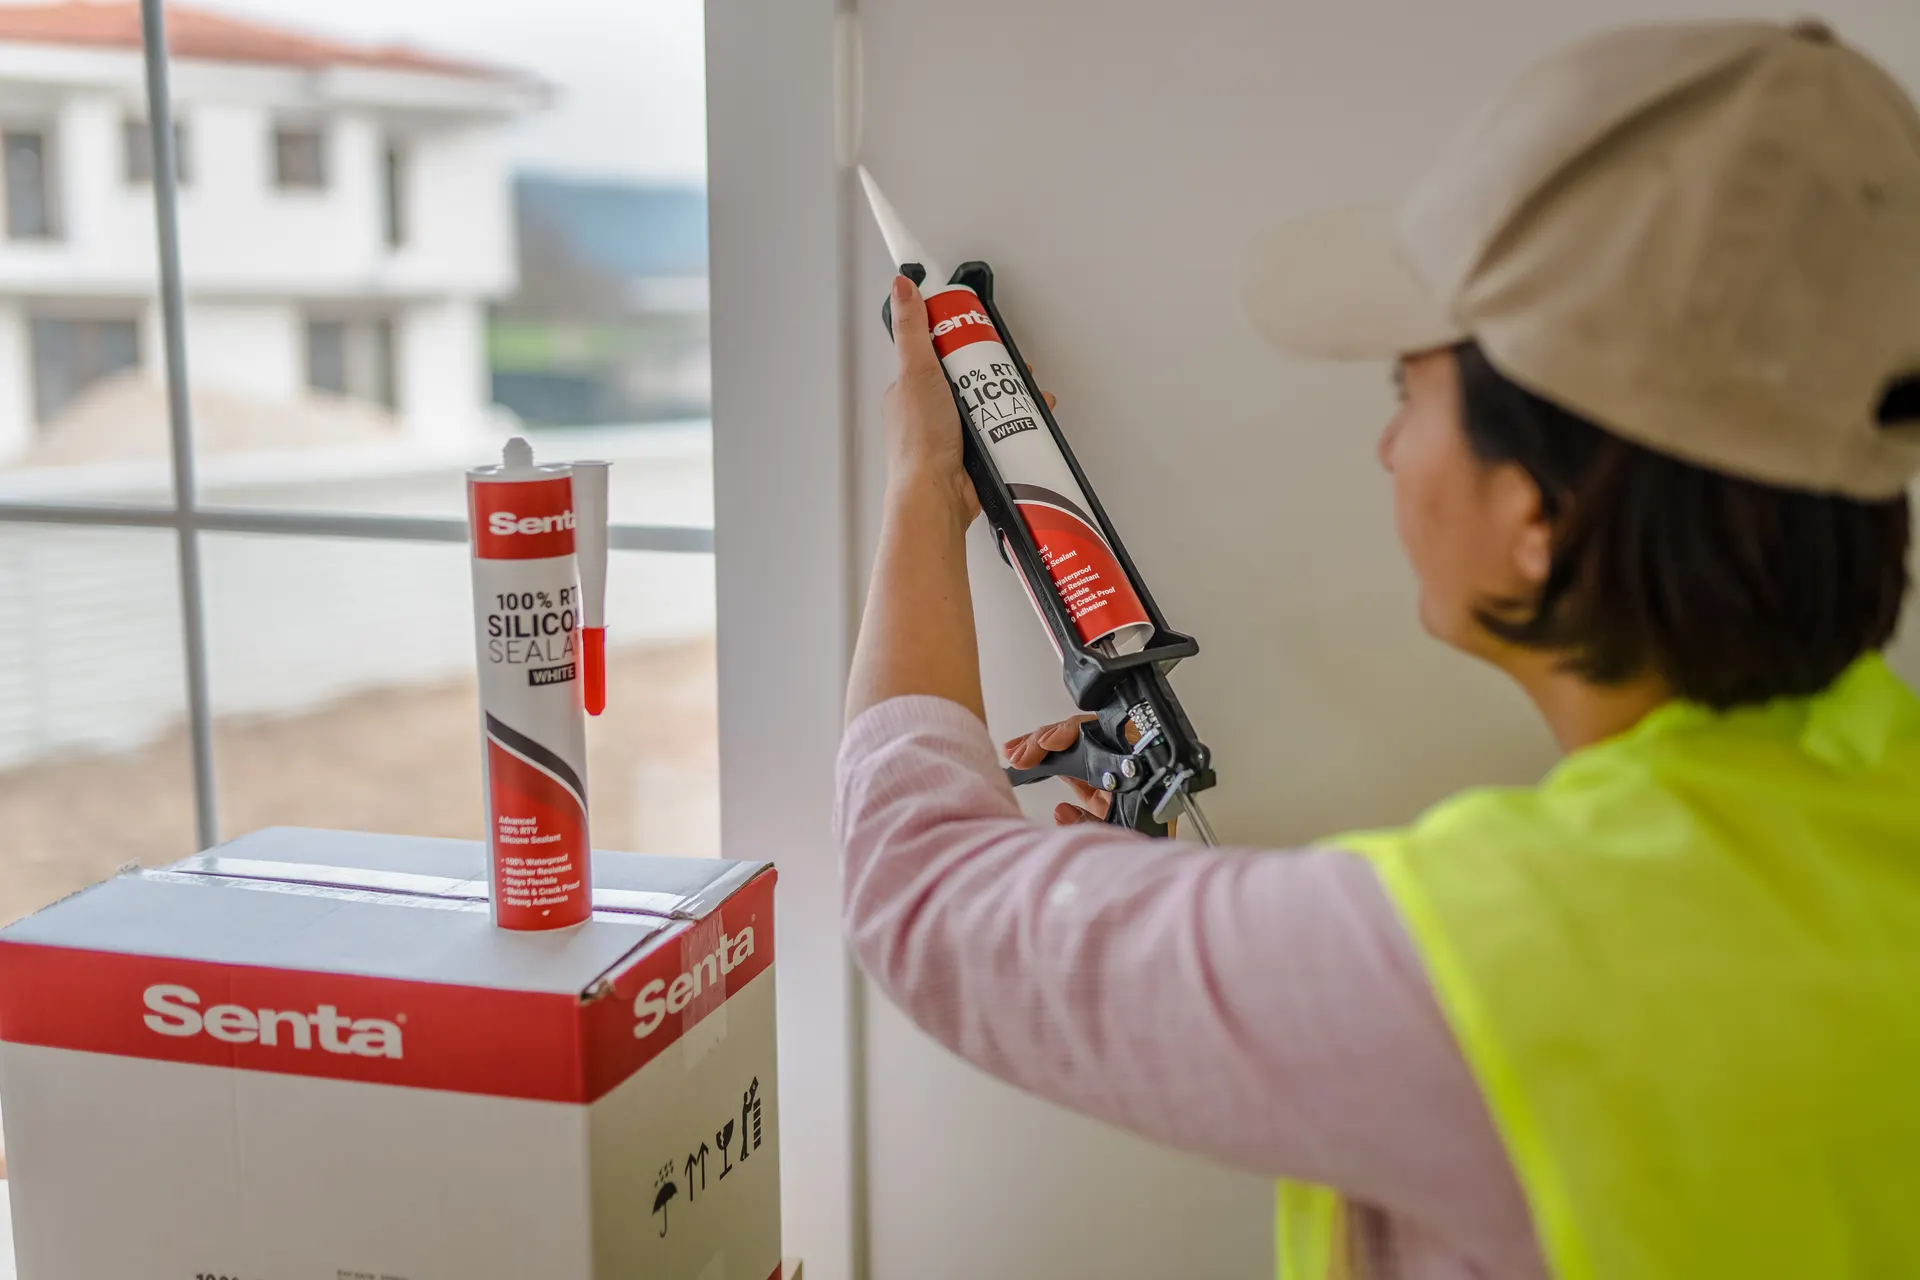
To caulk baseboards and trim before painting, use a paintable caulk such as siliconized acrylic latex, never 100% silicone. Run a thin bead along the top of the baseboard, along casing edges and into miter gaps, smooth it with a damp finger, wipe away the excess and paint once it has cured. Done right, caulk makes trim look built-in and hides the small gaps every wall has.
Why caulk trim at all?
Walls are never perfectly flat, and trim is never perfectly straight. That leaves hairline gaps between the top of the baseboard and the wall, along door and window casings, and at inside corners. Paint alone won't bridge them, so they show up as dark lines and collect dust. A thin bead of caulk fills the gap, gives the paint a continuous surface and reduces drafts behind the trim.
Choose a paintable caulk for baseboards and trim
This is the most important decision. 100% silicone can't be painted; paint beads up and peels off it. (See can you paint over silicone caulk? for why.)
Senta Siliconized Acrylic Latex Caulk is made for this kind of work:
- Paintable after curing
- No odor, solvent-free, water cleanup
- Designed for porous surfaces such as wood and plaster, and for cracks in walls and ceilings
- Good adhesion and elasticity for low- and medium-movement joints
Tools and materials
- Siliconized acrylic latex caulk
- Caulking gun
- Utility knife
- Damp rags or a bucket of water and a sponge
- Painter's tape (optional, for stained or prefinished trim)
- Wood filler or spackle for nail holes
- Vacuum or brush
- Backer rod for any gap wider than about 1/4 in
How to caulk baseboards and trim, step by step
- Install and nail the trim first. Caulk should fill small gaps, not hold loose trim in place. Set any proud nails.
- Fill nail holes separately. Use wood filler or spackle for nail holes and sand flush. Caulk tends to shrink and leave dimples in holes, and it's harder to sand.
- Clean the joints. Vacuum or brush away sawdust and drywall dust. Caulk won't bond to dust.
- Prime bare, porous surfaces if needed. Raw wood and bare plaster soak up moisture from caulk. Senta's data sheet suggests priming very porous surfaces with the caulk diluted 1 part to 4–5 parts water, or you can prime the trim with paint primer first.
- Cut a small opening. Cut the nozzle at a slight angle with an opening of about 1/8 in or less. On trim, a small bead is easier to control and looks cleaner.
- Run a steady bead. Hold the gun at about 45 degrees, keep steady pressure and move at an even pace. Do one wall or one casing leg at a time, about 3 to 4 feet per run.
- Tool it right away. Run a damp fingertip along the bead to press it into the gap and smooth it. Keep a damp rag handy and wipe your finger often.
- Wipe the excess. Clean caulk off the wall and trim face with a damp rag or sponge before it dries. Leftover film shows through paint.
- Let it cure, then paint. Keep the joint dry for at least 2 hours and let the caulk cure as the data sheet directs before painting. Painting too soon can cause cracking in the paint film.
Where to caulk (and where not to)
Caulk these:
- The top edge of baseboards where they meet the wall
- Both edges of door and window casings
- Inside corners and coped or mitered joints in painted trim
- Where crown molding meets the wall and ceiling
Skip these:
- The bottom of baseboards against hardwood or tile floors. Floors move seasonally and caulk there often cracks or looks messy. Shoe molding or a clean gap usually looks better.
- Stained or clear-finished trim, unless you use a color that matches. Paintable white caulk will stand out.
- Gaps wider than about 1/4 in without backer rod or filler first. A huge bead shrinks and cracks.
Fixing common problems
- Caulk cracked after painting: the gap was too large for one pass, or paint went on before the caulk cured. Cut out the cracked section, recaulk and wait longer before painting.
- Wavy, lumpy bead: too much caulk or too big a nozzle. Wipe it off while wet and redo with a smaller bead.
- Caulk pulling away from trim: the surface was dusty or very porous. Clean and prime, then recaulk.
For more on getting a clean line, see how to get a smooth caulk line.
FAQ
Should I caulk baseboards before or after painting?
Caulk after priming and before the final coats of paint. The caulk then gets painted with the rest of the trim and disappears.
Can I use silicone to caulk baseboards?
Not if you plan to paint. 100% silicone isn't paintable. Use a paintable siliconized acrylic latex caulk for trim.
Should I caulk the bottom of baseboards?
Usually not against hardwood or tile floors, which move seasonally. Caulking the top edge and the casing joints is enough for most rooms.
For trim and baseboards, start with Senta Siliconized Acrylic Latex Caulk.