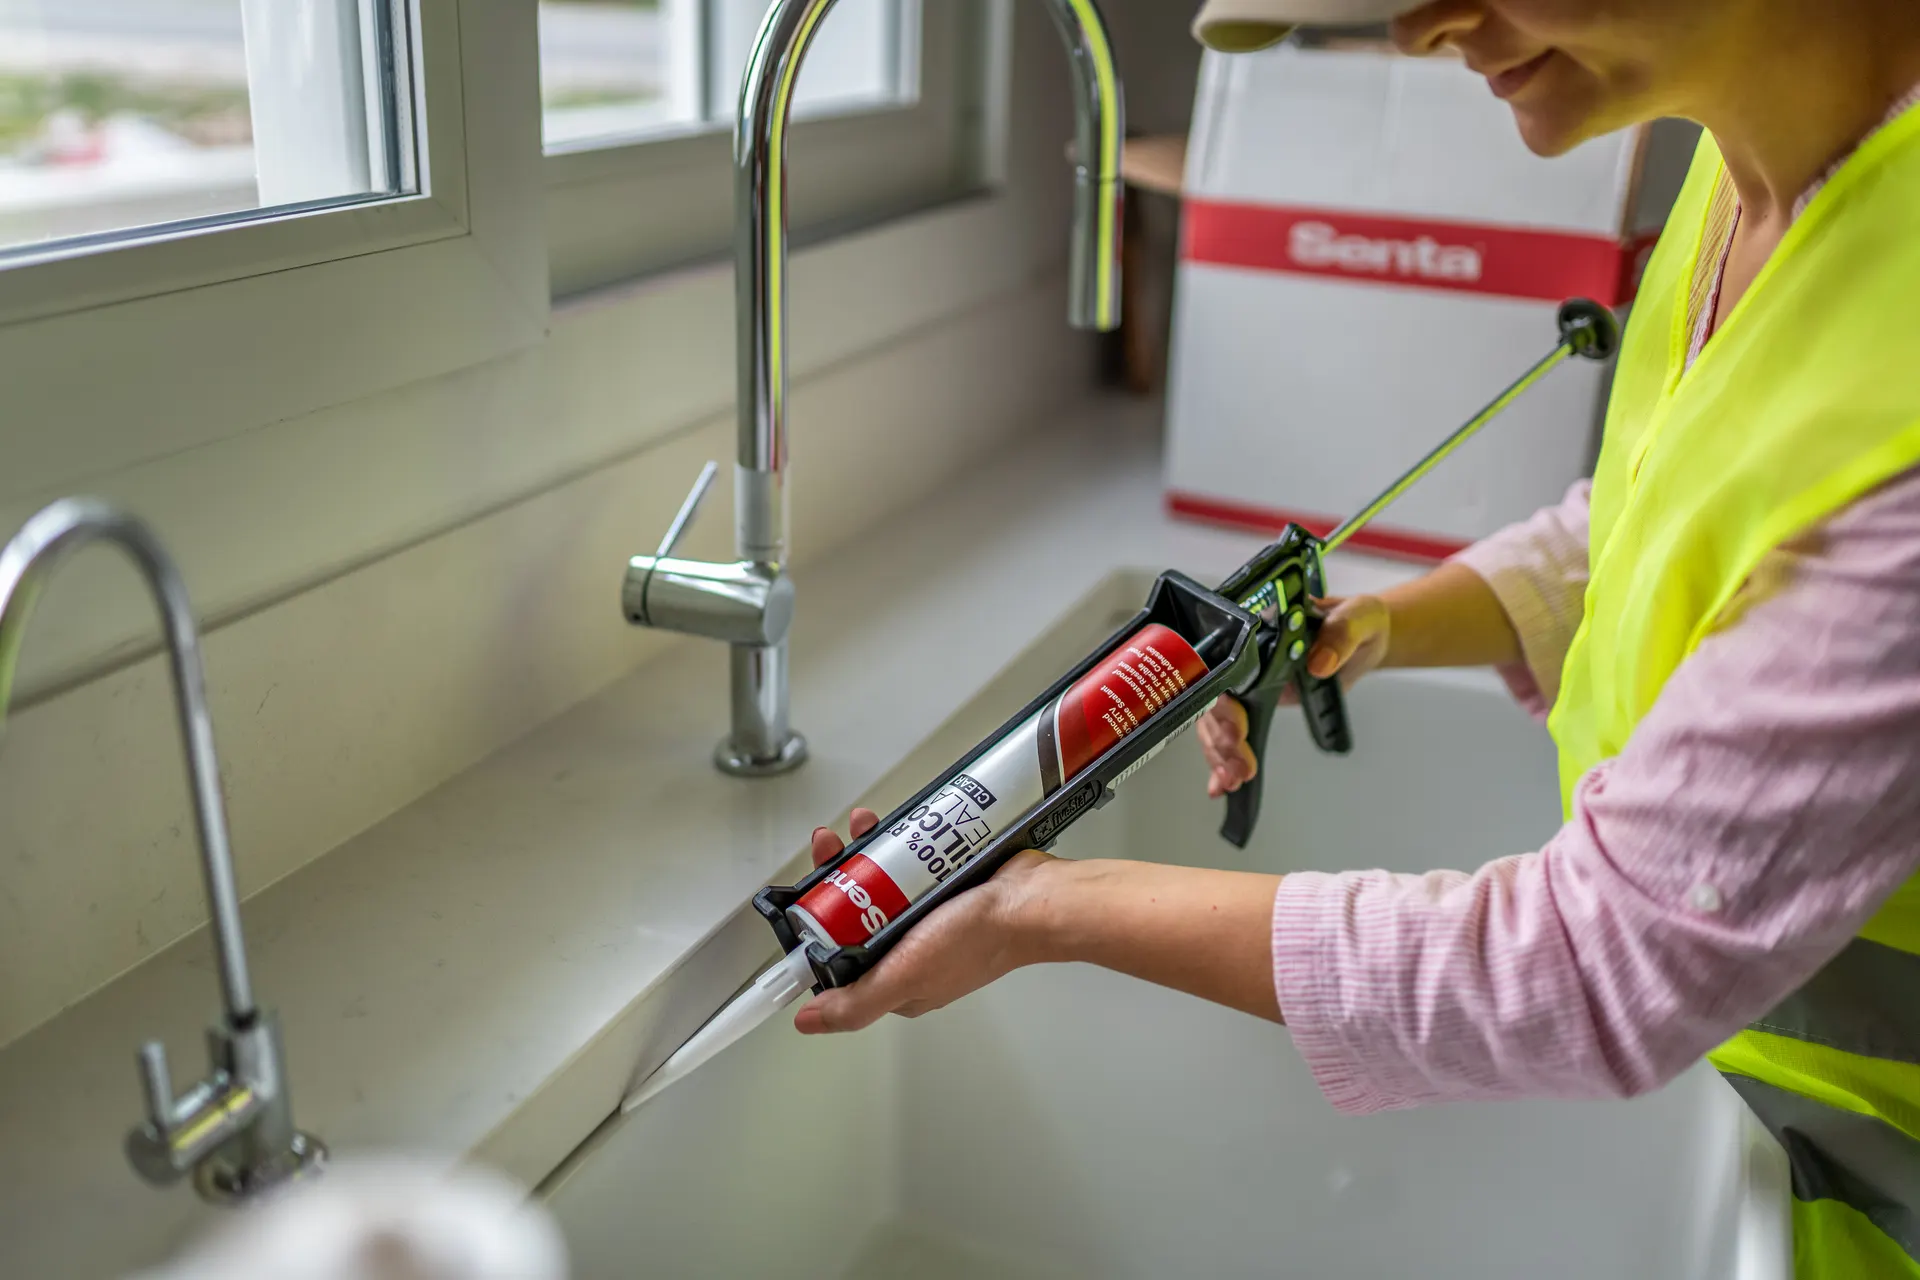
How to get a smooth, professional caulk line
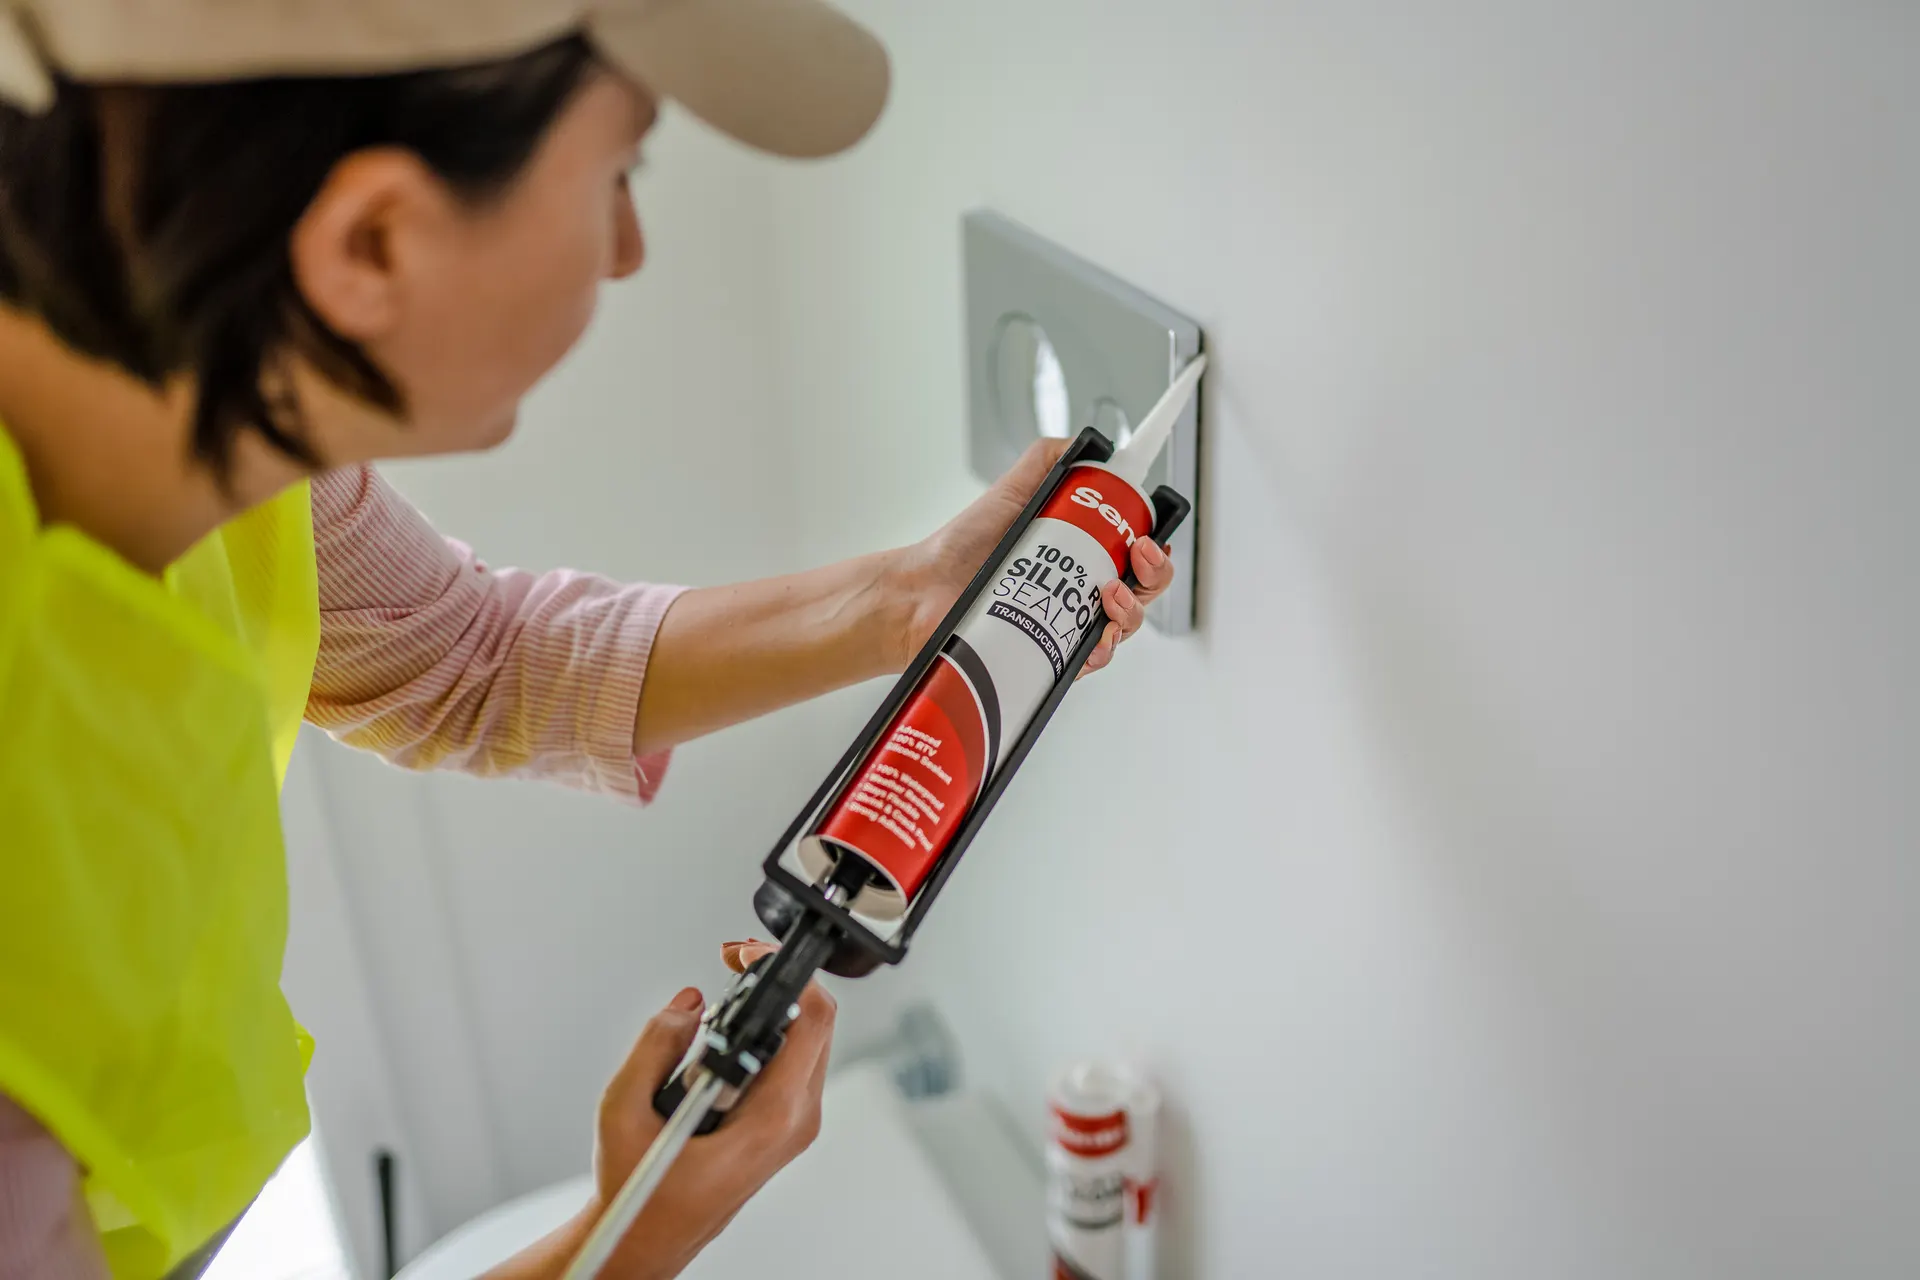
A smooth caulk line comes from four things: masking both edges with painter's tape, cutting the nozzle to the right size, running the bead at a steady speed with steady pressure, and tooling it once, quickly, before it skins. Pull the tape while the sealant is still wet and you get crisp, straight edges even if your bead wasn't perfect.
Here is the method professionals use, broken into simple steps.
Tools and materials
- Caulking gun with a smooth, dripless trigger
- Sealant suited to the job (silicone for wet areas and non-porous surfaces, siliconized acrylic for paintable joints)
- Painter's tape
- Utility knife
- Caulk smoothing tool or gloved finger
- Isopropyl alcohol and lint-free rags (for silicone prep)
- Paper towels and a small trash bag
Prep: where smooth lines really start
- Remove the old caulk completely. Leftover lumps under a new bead show through. See how to remove old silicone caulk.
- Clean and dry. Wipe non-porous surfaces with isopropyl alcohol. Make sure the joint is dry.
- Tape both sides. Lay tape parallel to the joint on each side, leaving a gap about as wide as you want the finished bead, often 1/8 to 1/4 inch. Press the tape edges down firmly so sealant can't creep under.
Cut the nozzle correctly
- Cut at a 45-degree angle.
- Start small. The opening should be slightly smaller than the gap you want to fill. You can enlarge it, but you can't make it smaller.
- Use a sharp knife for a clean cut. A ragged nozzle gives a ragged bead.
- Puncture the inner seal of the cartridge if it has one.
Running a smooth caulk line
- Find a comfortable position. You want to move your whole arm along the joint, not just your wrist. Plan to go from one end to the other without stopping if you can.
- Hold the gun at about 45 degrees to the joint, with the angled cut of the nozzle flat against the work.
- Squeeze to start the flow, then move. Keep trigger pressure steady and move at a speed that fills the joint completely with a slight overfill. Too fast leaves gaps; too slow builds up blobs.
- Push or pull? Pushing the bead ahead of the nozzle forces sealant deeper into the joint. Pulling is easier to control. Either works if your speed is even.
- Release pressure at the end. On a dripless gun, letting go of the trigger stops the flow. On other guns, press the release tab immediately so sealant doesn't keep oozing.
Tool it once, and do it fast
Tooling presses the sealant into the joint, improves contact with both sides and shapes the surface.
- Tool silicone within its working time. For Senta 100% RTV Silicone, tool within 5 minutes; it skins in 8 to 20 minutes at 70 °F and 50 % relative humidity.
- Use a smoothing tool or a gloved fingertip and make one continuous pass from end to end, with light, even pressure.
- Wipe excess off the tool onto a paper towel as you go.
- Resist the urge to go back over it again and again. Each extra pass pulls sealant onto the tape or surface.
For siliconized acrylic latex caulk, a slightly damp finger or sponge works well because it cleans up with water.
Pull the tape immediately
Right after tooling, remove the tape while the sealant is still wet:
- Pull slowly, at a low angle, away from the bead.
- Fold the sticky tape onto itself and drop it straight into a trash bag so it doesn't touch anything.
- If the edge lifts slightly, lightly re-tool that spot with a clean fingertip.
Fixing common problems
| Problem | Likely cause | Fix |
|---|---|---|
| Wavy, uneven bead | Uneven speed or pressure | Practice on cardboard; move your whole arm |
| Gaps or voids | Moving too fast or nozzle too small | Slow down; cut the nozzle slightly larger |
| Sealant on the tile beside the joint | No tape or too many tooling passes | Use tape; tool once |
| Torn or wrinkled surface | Tooled after it began to skin | Tool sooner; work in shorter sections |
| Sagging in vertical joints | Wrong sealant or overfilled joint | Use a non-sag sealant and the right bead size |
Senta 100% RTV Silicone is rated 0 inch sag (ISO 7390), so it stays in place on vertical and overhead joints.
Practice pays off
If you are new to caulking, run a few beads on a piece of cardboard or scrap board first. A couple of minutes helps you find the right speed and trigger pressure. Our guide on how to use a caulking gun covers gun technique in more detail.
For bright, crisp lines in white bathrooms, try Senta 100% RTV Silicone in White.
FAQ
Should I use tape when caulking?
Painter's tape is the easiest way to get straight, even edges, especially for beginners. Remove it right after tooling while the sealant is still wet.
What can I use to smooth silicone caulk?
A plastic caulk smoothing tool or a gloved fingertip both work. Make one steady pass and wipe the tool often.
How do I fix a messy caulk line after it cures?
Cut it out, clean off the residue and recaulk. Cured silicone can't be re-smoothed, and new silicone doesn't bond well on top of old.