How to seal around a kitchen sink
To seal a kitchen sink, remove the old caulk around the rim, clean the joint with isopropyl alcohol, let it dry, then run a thin, continuous bead of 100% silicone where the sink meets the countertop and smooth it within a few minutes. Before you start, check what your countertop and sink are made of, because that decides which sealant you can use.
A good seal keeps water from seeping under the rim, where it can swell particleboard, loosen the sink and grow mildew. Here is how to do it.
Tools and materials
- 100% silicone sealant (or the sealant your countertop maker recommends)
- Caulking gun
- Utility knife, plastic scraper and razor blade
- Isopropyl alcohol and lint-free rags
- Painter's tape
- Smoothing tool or gloved finger
- Gloves and ventilation
Check your materials first
Stainless steel or enameled sink on laminate or other non-porous countertops: a 100% silicone is the usual choice. Senta 100% RTV Silicone adheres to metals and most common non-porous building materials and is mold and mildew resistant.
Natural stone countertops (granite, marble, quartzite): Senta silicone is an acetoxy cure and is not recommended on porous natural stone. Follow the stone fabricator's or supplier's recommendation for a stone-safe, neutral-cure sealant.
Copper or brass sinks: do not use acetoxy silicone on copper, brass or other sensitive metals. Use a sealant the sink maker approves.
Concrete countertops: acetoxy silicone is not for concrete or other porous surfaces. Check with the countertop maker.
If you are unsure, our article on acetoxy vs. neutral-cure silicone explains the difference.
How to seal a kitchen sink, step by step
- Clear the area. Empty the cabinet under the sink in case of drips and remove everything from the counter around the sink.
- Remove the old caulk. Slice along both edges of the old bead and pull it out. Scrape off the remaining film with a razor blade on steel and a plastic scraper on laminate.
- Check that the sink is secure. If the rim lifts or rocks, tighten the sink clips underneath before sealing. Caulk is a seal, not a fastener.
- Clean and degrease. Kitchen joints collect grease and soap. Wipe both surfaces several times with isopropyl alcohol until a clean rag stays clean.
- Let it dry. Don't run water in the sink until the job is done. Give the joint time to dry fully.
- Tape the edges. Put painter's tape on the countertop about 1/8 inch from the rim and, if the rim is wide and flat, on the sink as well.
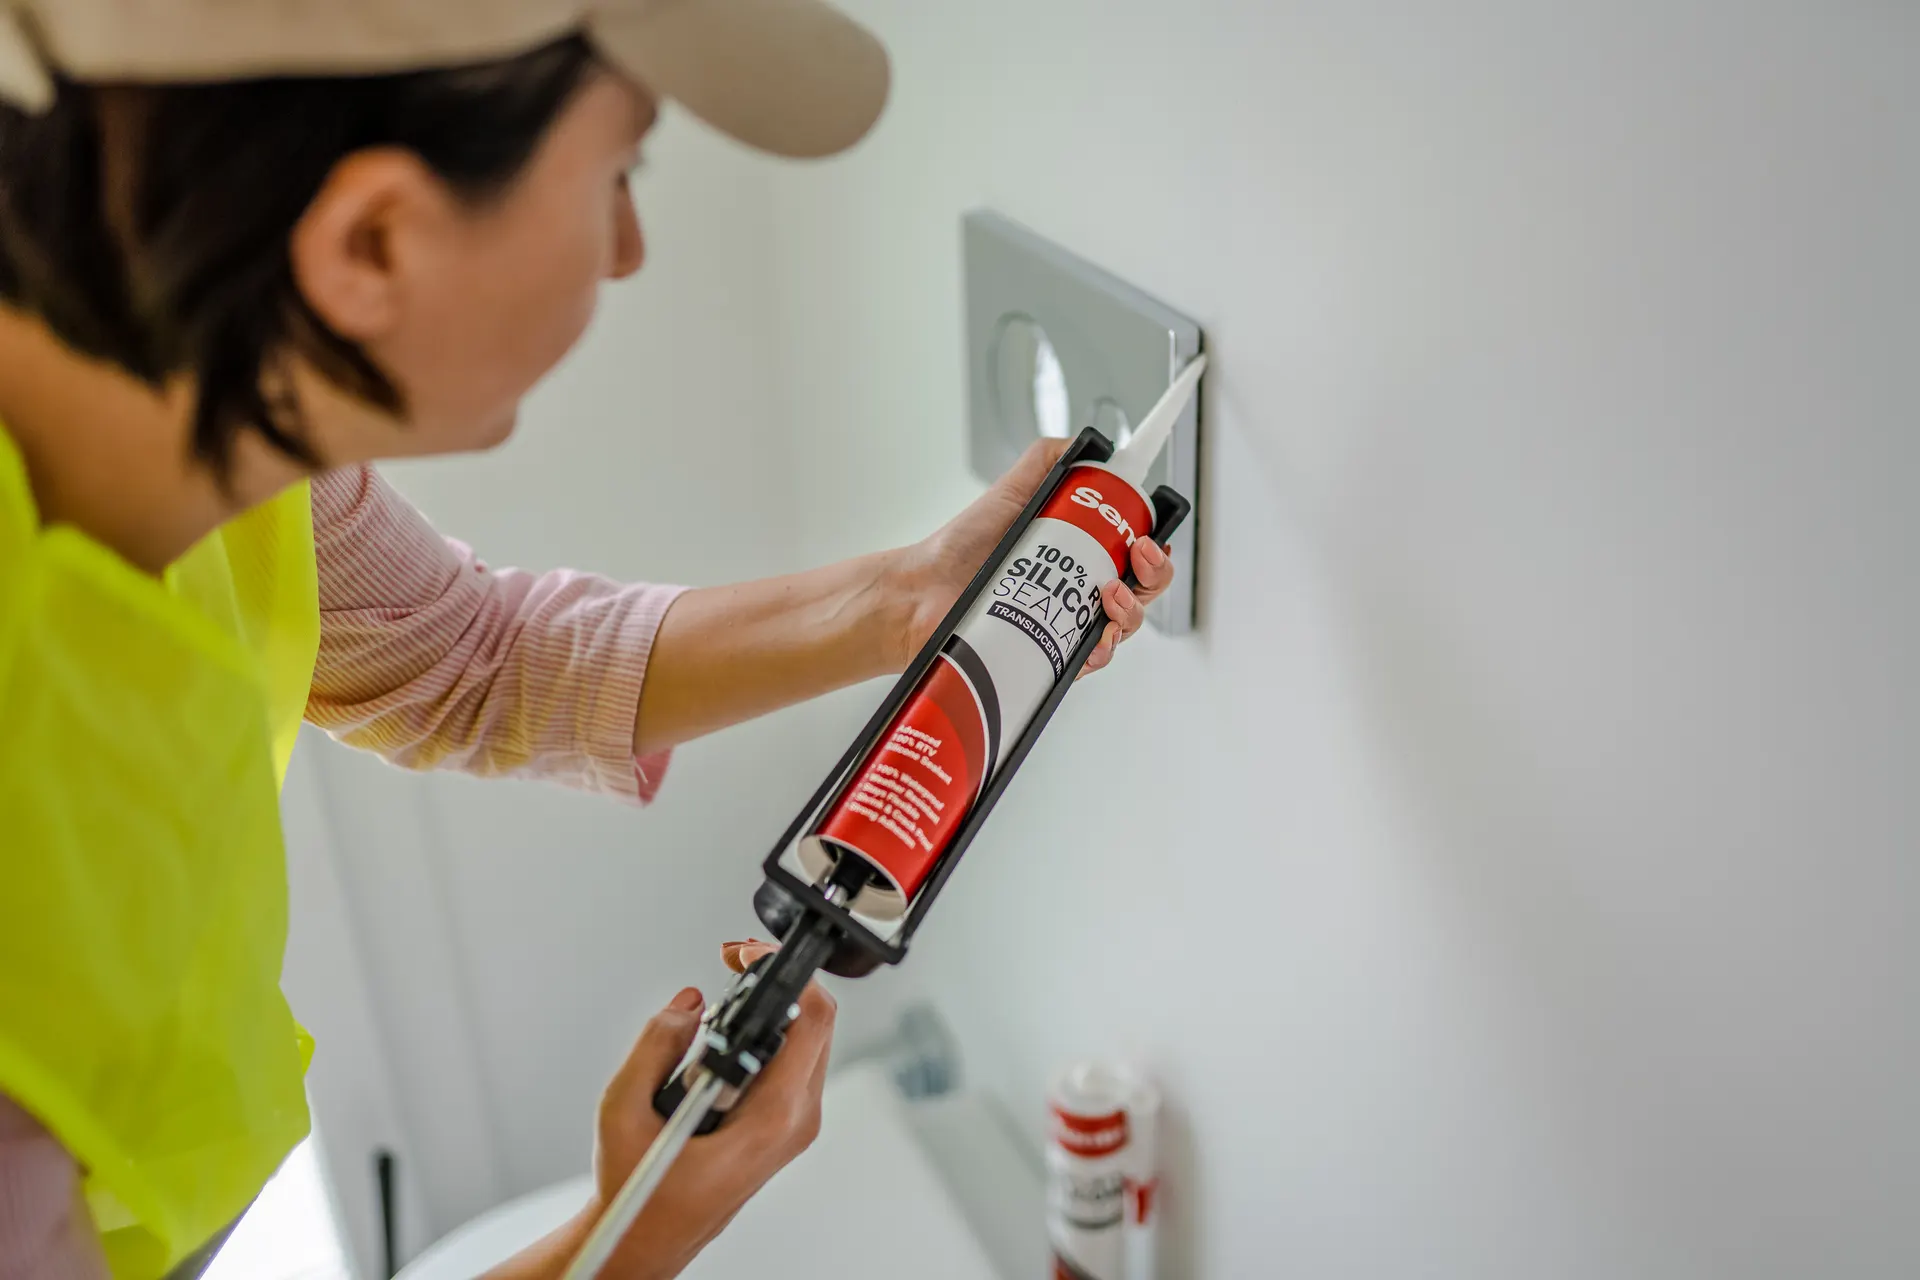
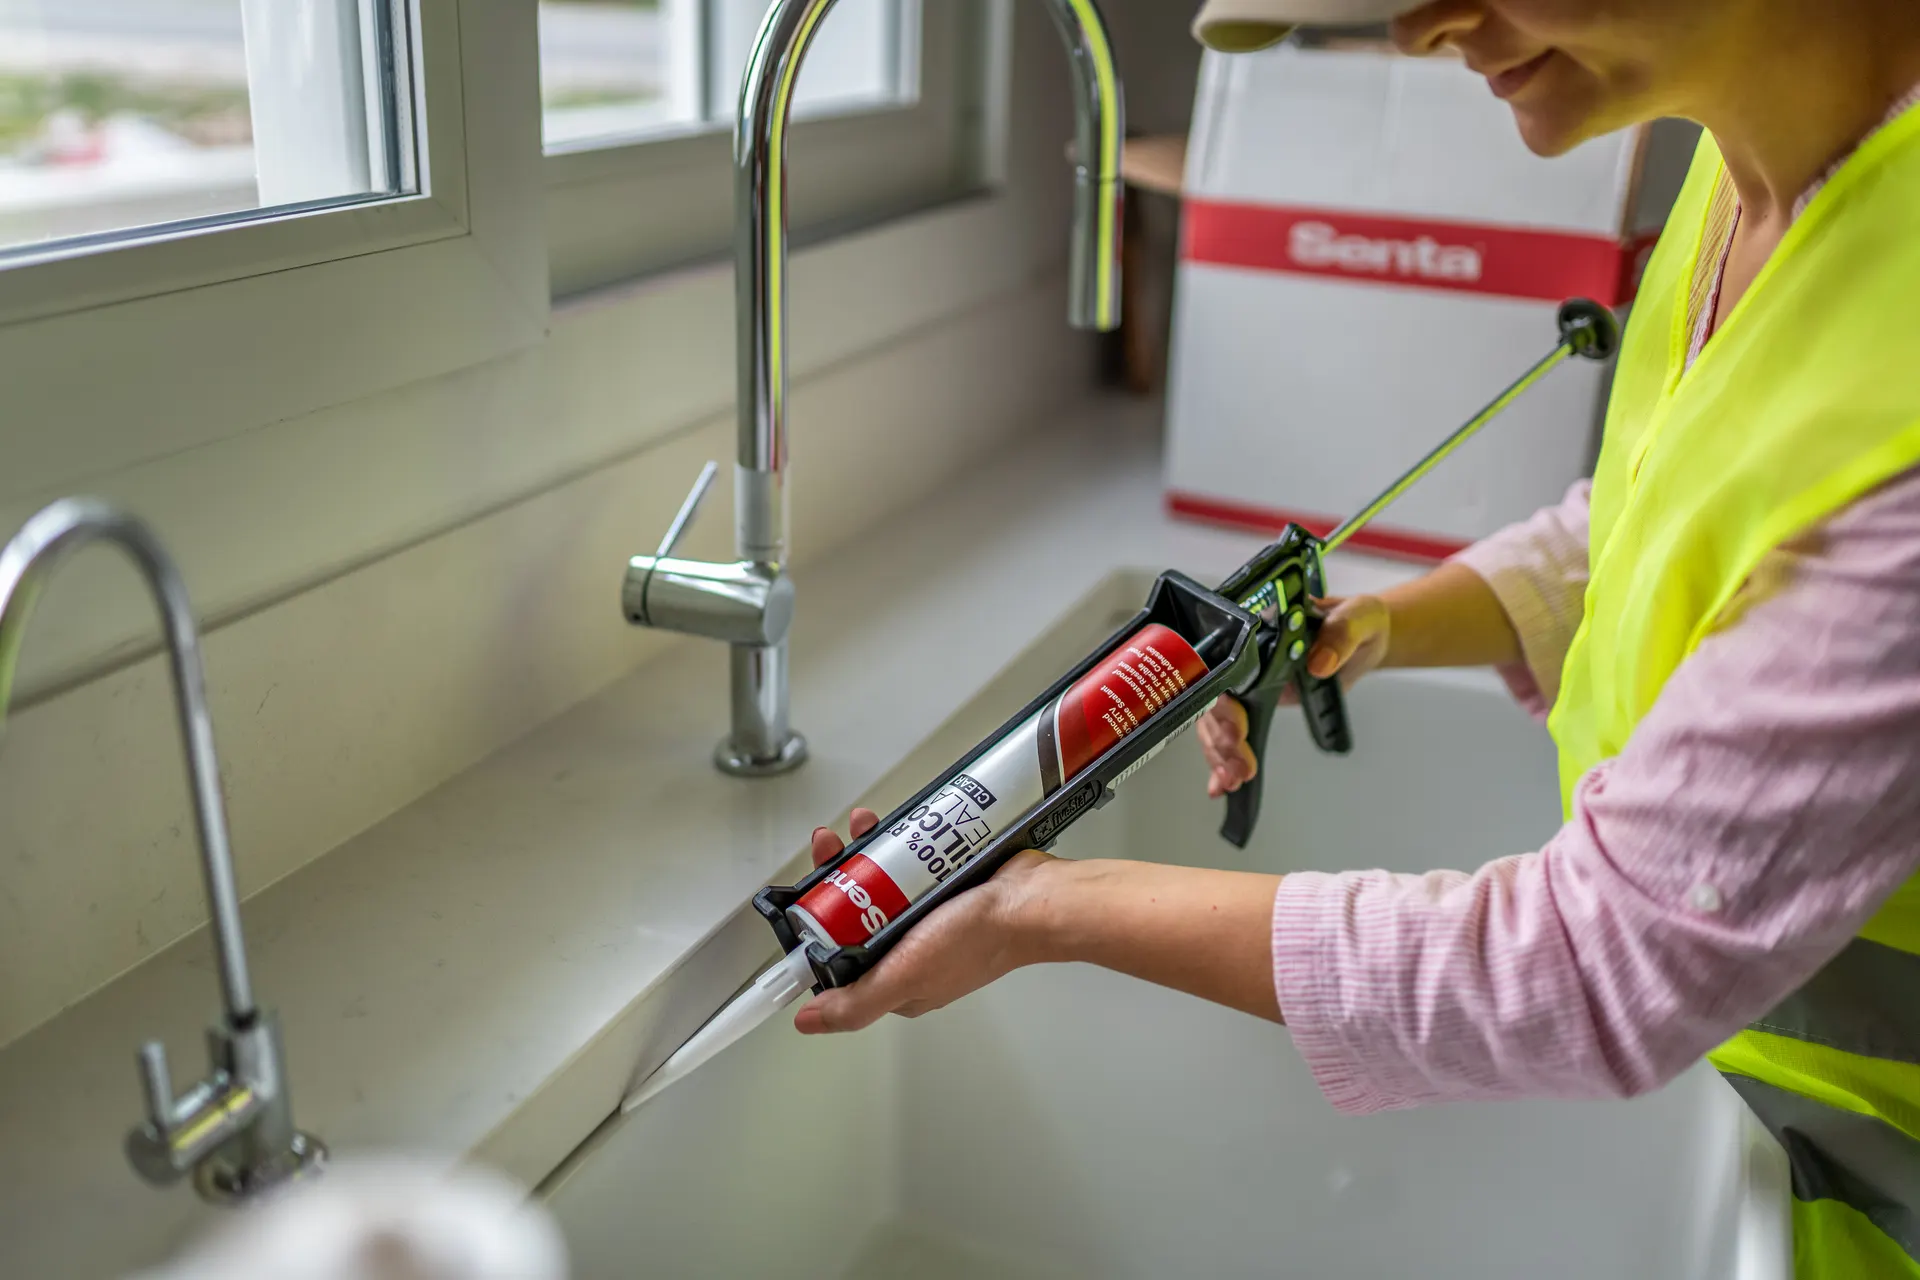
- Apply a thin bead. Cut the nozzle small at 45 degrees. Kitchen sink joints are usually tight, so a narrow bead is enough. Move at a steady pace all the way around without stopping at corners if you can.
- Tool within 5 minutes. Smooth the bead with one even pass, pressing it into the seam. Senta silicone skins in 8 to 20 minutes at 70 °F and 50 % relative humidity, so tool it right away.
- Remove the tape and clean up. Pull the tape at a low angle while the bead is still wet. Wipe smudges off steel with a rag dampened with alcohol before they cure.
- Let it cure before use. Senta 100% RTV Silicone cures at 1/8 inch bead per 24 hours. Avoid splashing the joint for at least a day and keep the kitchen ventilated while the vinegar smell fades.
Undermount vs. drop-in sinks
Drop-in (top-mount) sinks sit on the countertop with a rim. You seal the visible seam where the rim meets the counter, as described above.
Undermount sinks hang below the counter, usually stone or solid surface. The joint is under the edge of the counter and is often bonded during installation. Resealing the visible seam follows the same steps, but the sealant choice depends on the countertop material. With natural stone, use what the fabricator recommends.
Sealing the faucet base
The base of the faucet can also let water under the counter. Many faucets come with a gasket. If yours does not, a thin silicone seal around the base on a non-porous counter can help. Follow the faucet maker's instructions first.
Common problems
- Caulk turning dark: usually mildew growing on soap film or in a joint that stays wet. Clean regularly and wipe the seam dry.
- Caulk peeling at the edge: often a sign of grease left on the surface or a joint that was damp when caulked.
- Bead too wide and messy: cut the nozzle smaller and use painter's tape. Our guide to a smooth caulk line has more tips.
For a steel sink on a white or light countertop, Senta 100% RTV Silicone in Clear blends into the seam.
FAQ
Should I use silicone or plumber's putty around a kitchen sink?
For the rim-to-countertop seam, silicone is common because it stays flexible and sheds water. Plumber's putty is mainly used under drain flanges. Always follow the sink and countertop makers' instructions.
Can I use acetoxy silicone on a granite countertop?
It is not recommended. Acetoxy silicone is not for porous natural stone. Ask your stone fabricator or supplier which stone-safe, neutral-cure sealant to use.
How long before I can use the sink?
Senta silicone cures at 1/8 inch bead per 24 hours. Wait at least 24 hours before heavy use for a thin bead, and longer for deeper joints or cool, dry weather.