Why caulk fails (and how to prevent it)
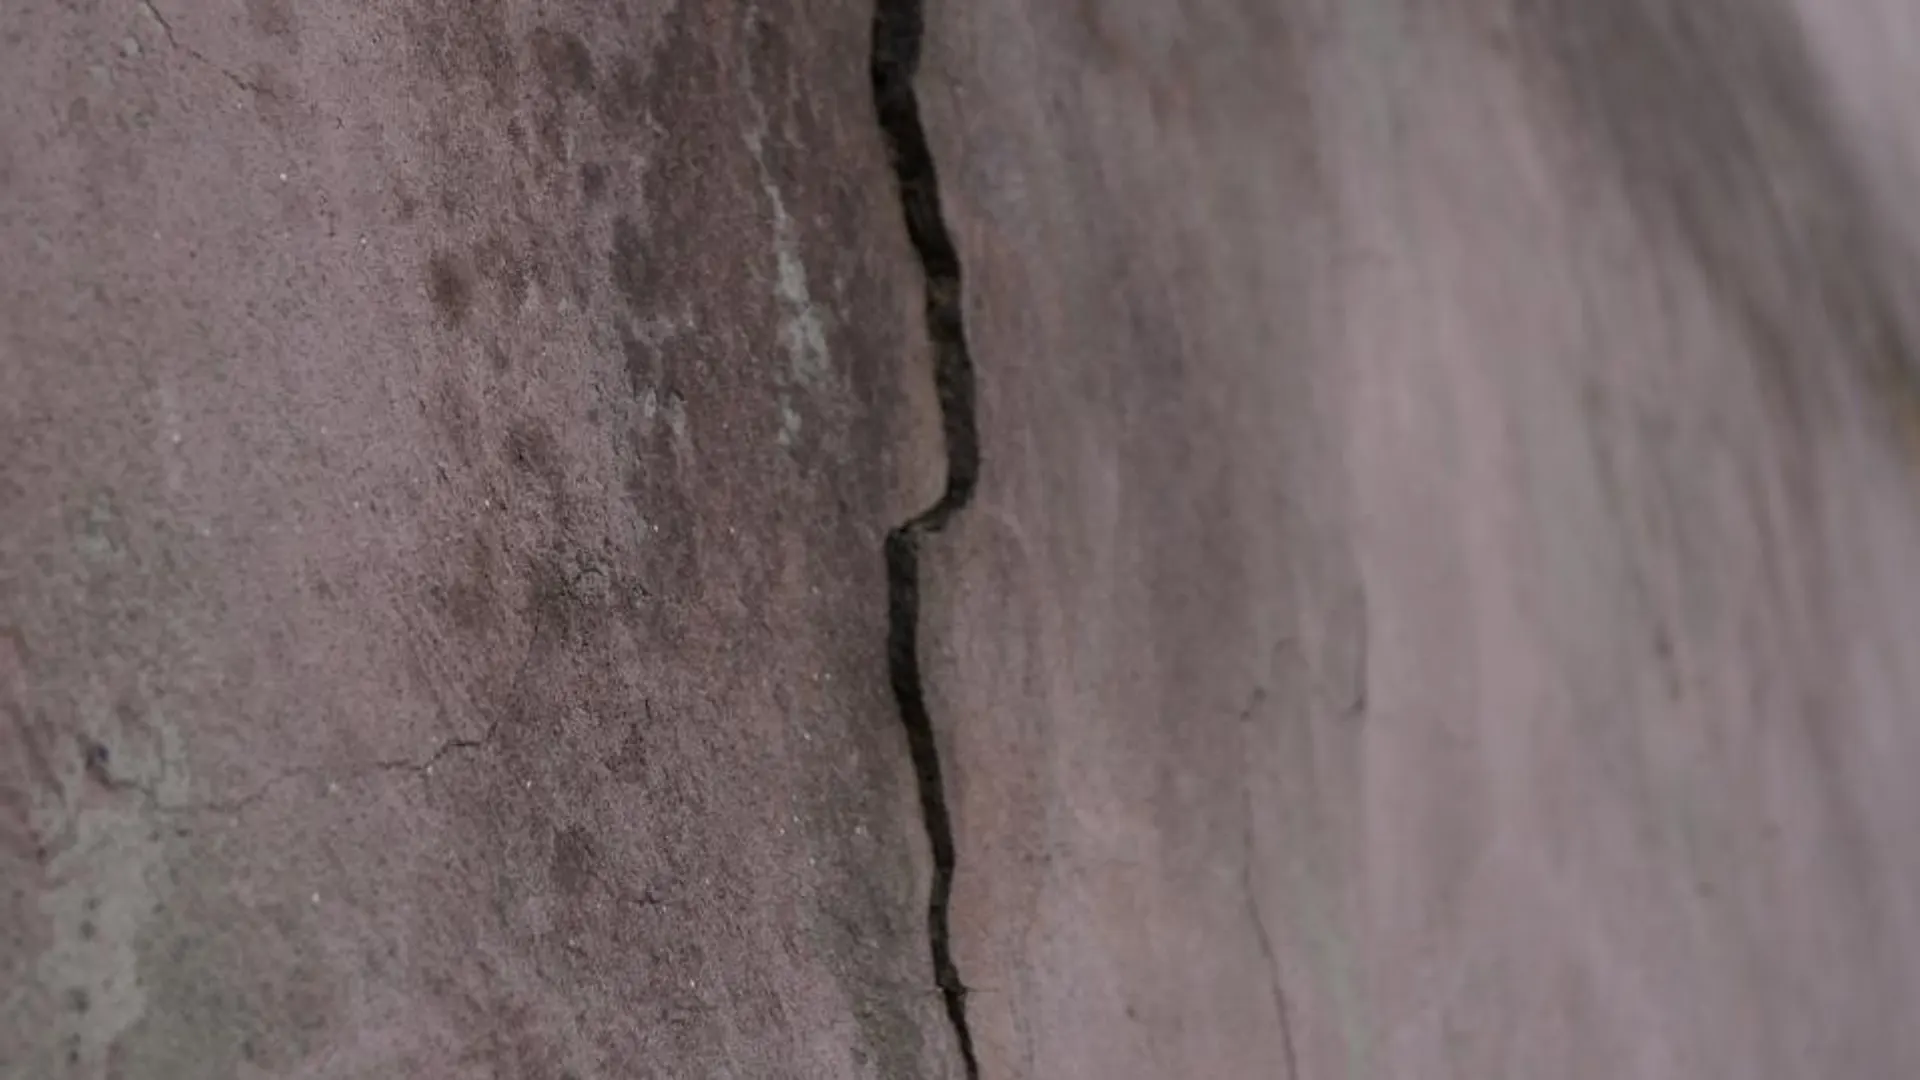
Most caulk fails for one of a handful of reasons: the surface wasn't clean and dry, the wrong sealant was used for the material or the location, the joint was the wrong size, or the sealant was applied outside its temperature range. The good news is that almost all of these are preventable with a few minutes of extra prep and the right product.
Here are the common failure types, what causes them and how to avoid them next time.
Failure 1: caulk peeling off one side (adhesion failure)
The bead pulls away cleanly from the surface, often leaving a gap you can slide a fingernail into.
Common causes:
- Soap scum, grease, dust or old silicone residue on the surface
- Moisture in the joint when the caulk went on
- A sealant that doesn't bond well to that material
- Frost or condensation on cold surfaces
How to prevent it: remove old caulk completely, clean non-porous surfaces with isopropyl alcohol, and make sure the joint is fully dry. Our step-by-step guide to removing old silicone caulk covers the prep. Check that the sealant is suited to the surface: Senta 100% RTV Silicone adheres to glass, aluminum, metals, wood and most common non-porous building materials, but it is not for porous natural stone, concrete or other porous surfaces.
Failure 2: caulk tearing down the middle (cohesive failure)
The sealant itself splits, leaving caulk stuck to both sides with a crack in between.
Common causes:
- Joint movement beyond what the sealant can handle
- A bead that is too thin to stretch
- A sealant designed for low-movement joints used on a high-movement joint
How to prevent it: match the sealant to the movement. Siliconized acrylic latex caulk is meant for low- and medium-movement joints. For joints that move more, use a sealant rated for movement, such as Senta 100% RTV Silicone, rated ±25 % under ASTM C920 Class 25.
Failure 3: the bead splits because it can't move (three-sided adhesion)
A joint filled solid, with sealant stuck to the back as well as both sides, can't stretch. It tears at the bond lines or in the middle.
How to prevent it: size the joint correctly and use backer rod or bond-breaker tape in deeper joints so the sealant only bonds to the two sides. For Senta silicone, the guideline is roughly a 2:1 width-to-depth ratio with a 5 × 5 mm minimum. See joint size and backer rod.
Why caulk fails in wet areas
Bathrooms and kitchens add their own problems:
- Wrong product. Siliconized acrylic latex caulk is not meant for joints permanently exposed to water. Around tubs and showers, use 100% silicone.
- Used too soon. Silicone cures at about 1/8 inch per 24 hours. Showering on a fresh bead can damage it.
- Mildew. Mildew grows on soap film and in joints that stay wet. A mold and mildew resistant sealant helps, but ventilation and regular cleaning matter too. Our guide on mold on shower caulk explains how.
Failure 4: discoloration
- Yellowing: acetoxy silicone can yellow if exposed to bleach or HCl-based brick cleaners while curing. Rinse off cleaners and let the area dry before caulking, and keep harsh cleaners off fresh beads.
- Dark spots: usually mildew on the surface or behind a bead that has lost adhesion.
- Stains on stone: acetoxy silicone should not be used on porous natural stone. Follow the stone supplier's recommendation for a stone-safe, neutral-cure sealant.
Failure 5: paint peeling off the caulk
Paint does not stick to silicone. If a joint needs painting, use a paintable siliconized acrylic latex caulk and let it cure before painting.
Failure 6: caulk that never cures or stays soft
Common causes:
- Application below the minimum temperature (40 °F for Senta silicone and acrylic caulk)
- Very thick beads, which cure slowly from the outside in
- Totally confined spaces where air can't reach the sealant
- Old cartridges past their shelf life (Senta silicone: 18 months unopened, stored dry between 40 °F and 105 °F)
A quick checklist to prevent caulk failure
- Remove all old sealant and residue.
- Clean and dry the surfaces.
- Choose the right product for the material, water exposure and paint plans.
- Check the temperature: 40 °F to 105 °F for Senta products.
- Size the joint correctly; use backer rod in deep gaps.
- Tool within the working time (5 minutes for Senta silicone).
- Let it cure before exposing it to water or stress.
When a product question depends on the specific surface or condition, the TDS is the reference. You can find Senta's on our technical documents page.
FAQ
Why does my caulk keep peeling off?
Usually because of residue on the surface, moisture in the joint or a sealant that isn't suited to the material. Remove all old caulk, clean with alcohol, dry thoroughly and choose a compatible product.
Why does caulk crack?
Cracking down the middle usually means the joint moves more than the sealant can handle, or the bead is too thin. Use a movement-rated sealant and the right joint size.
How long should caulk last?
It depends on the product, location, joint design and maintenance. Good prep, correct product choice and proper joint size make the biggest difference to how long a bead holds up.