How to caulk a kitchen backsplash
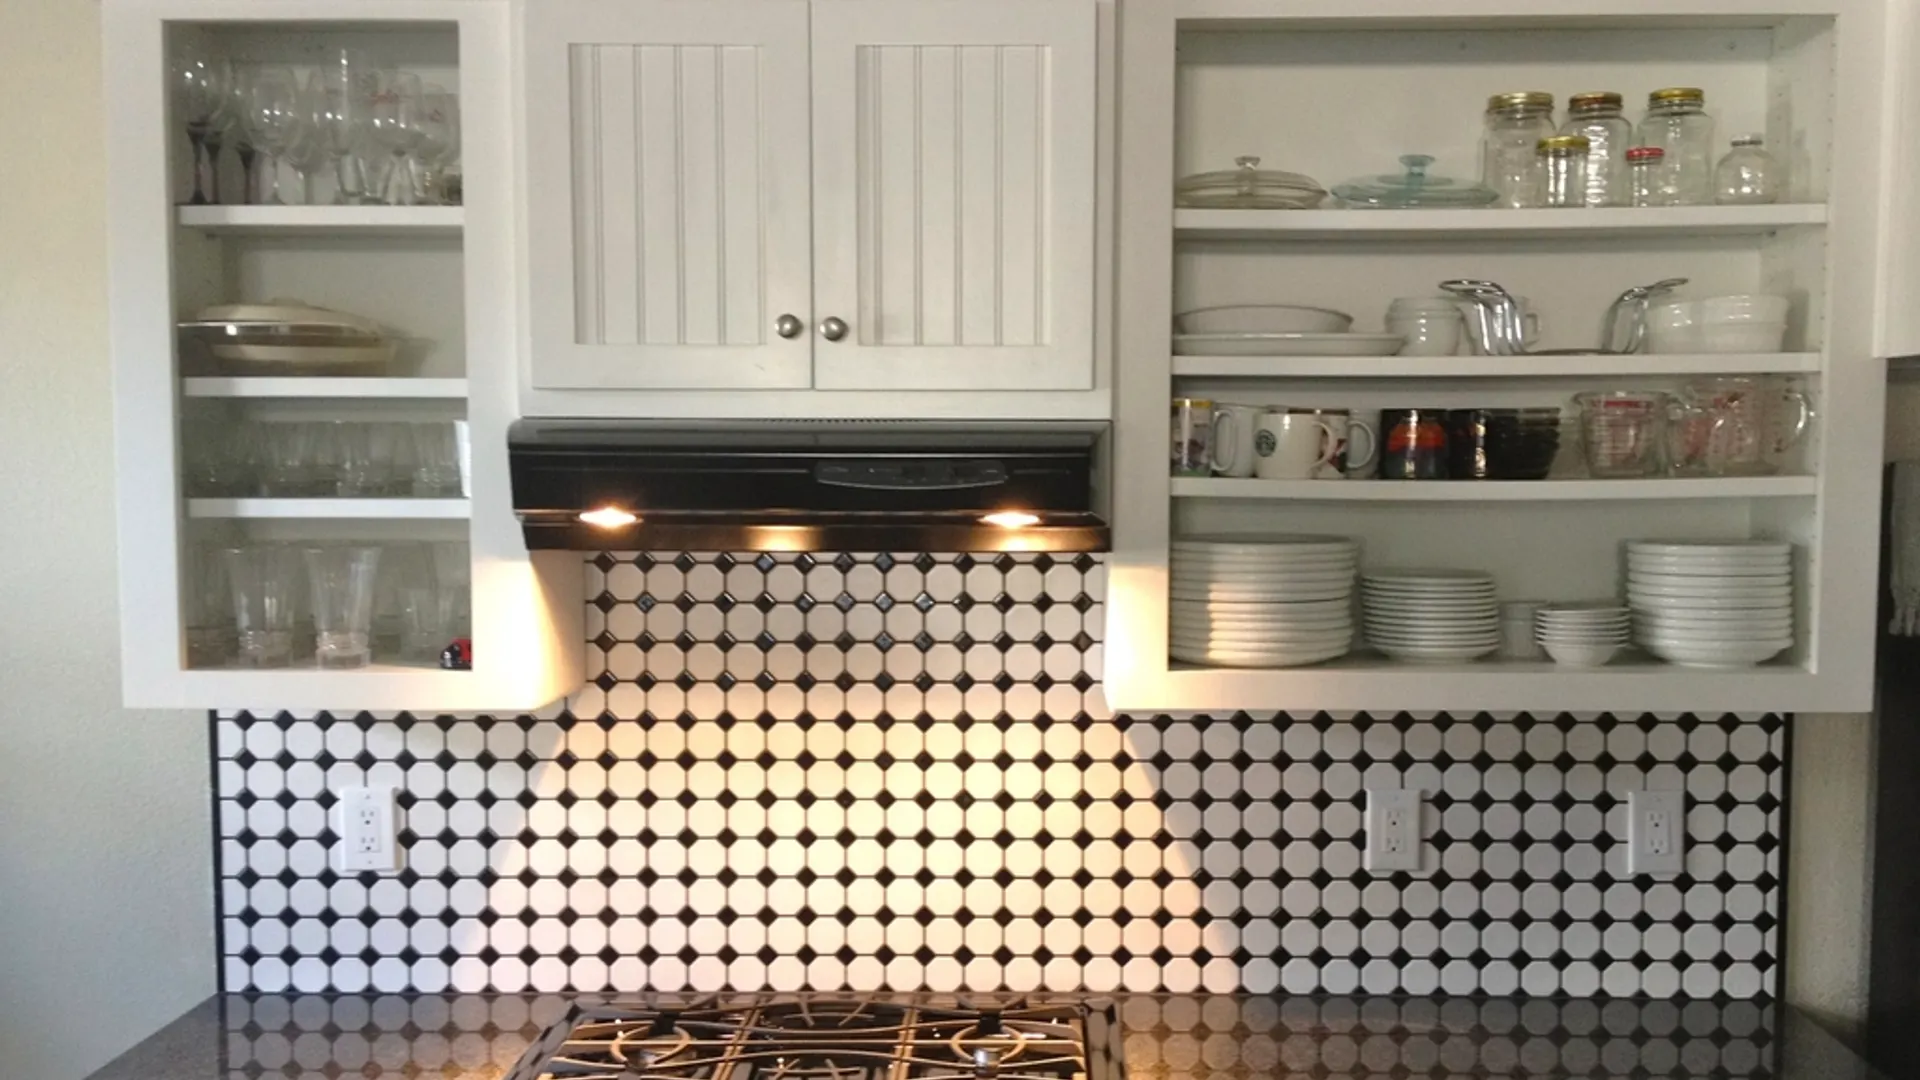
To caulk a backsplash, seal the joint where the backsplash meets the countertop (and any inside corners) with a flexible sealant instead of grout, because that joint moves slightly as the house shifts and temperatures change. Clean out any grout or debris from the gap, tape both edges, run a thin bead, tool it within a few minutes and pull the tape while it is wet.
The key decision is which sealant to use, and that depends on what your countertop and backsplash are made of.
Why the countertop joint needs caulk, not grout
Grout is rigid. Where two different surfaces meet at a change of plane, such as a countertop and a wall, the materials move independently. Grout in that joint tends to crack and crumble over time. A flexible sealant stretches and compresses with the movement and keeps water out.
The same applies to inside corners, where two walls of backsplash meet, and to the edges where tile meets cabinets or a window frame.
Choosing a sealant to caulk a backsplash
| Countertop and backsplash | Sealant to consider |
|---|---|
| Glazed ceramic, porcelain or glass tile; laminate, solid-surface or stainless steel counter | 100% silicone |
| Natural stone counter or stone tile (granite, marble, travertine) | A stone-safe, neutral-cure sealant recommended by the stone supplier |
| Painted wall or wood trim at the backsplash edge | Paintable siliconized acrylic latex caulk |
| Concrete counter | Ask the countertop maker |
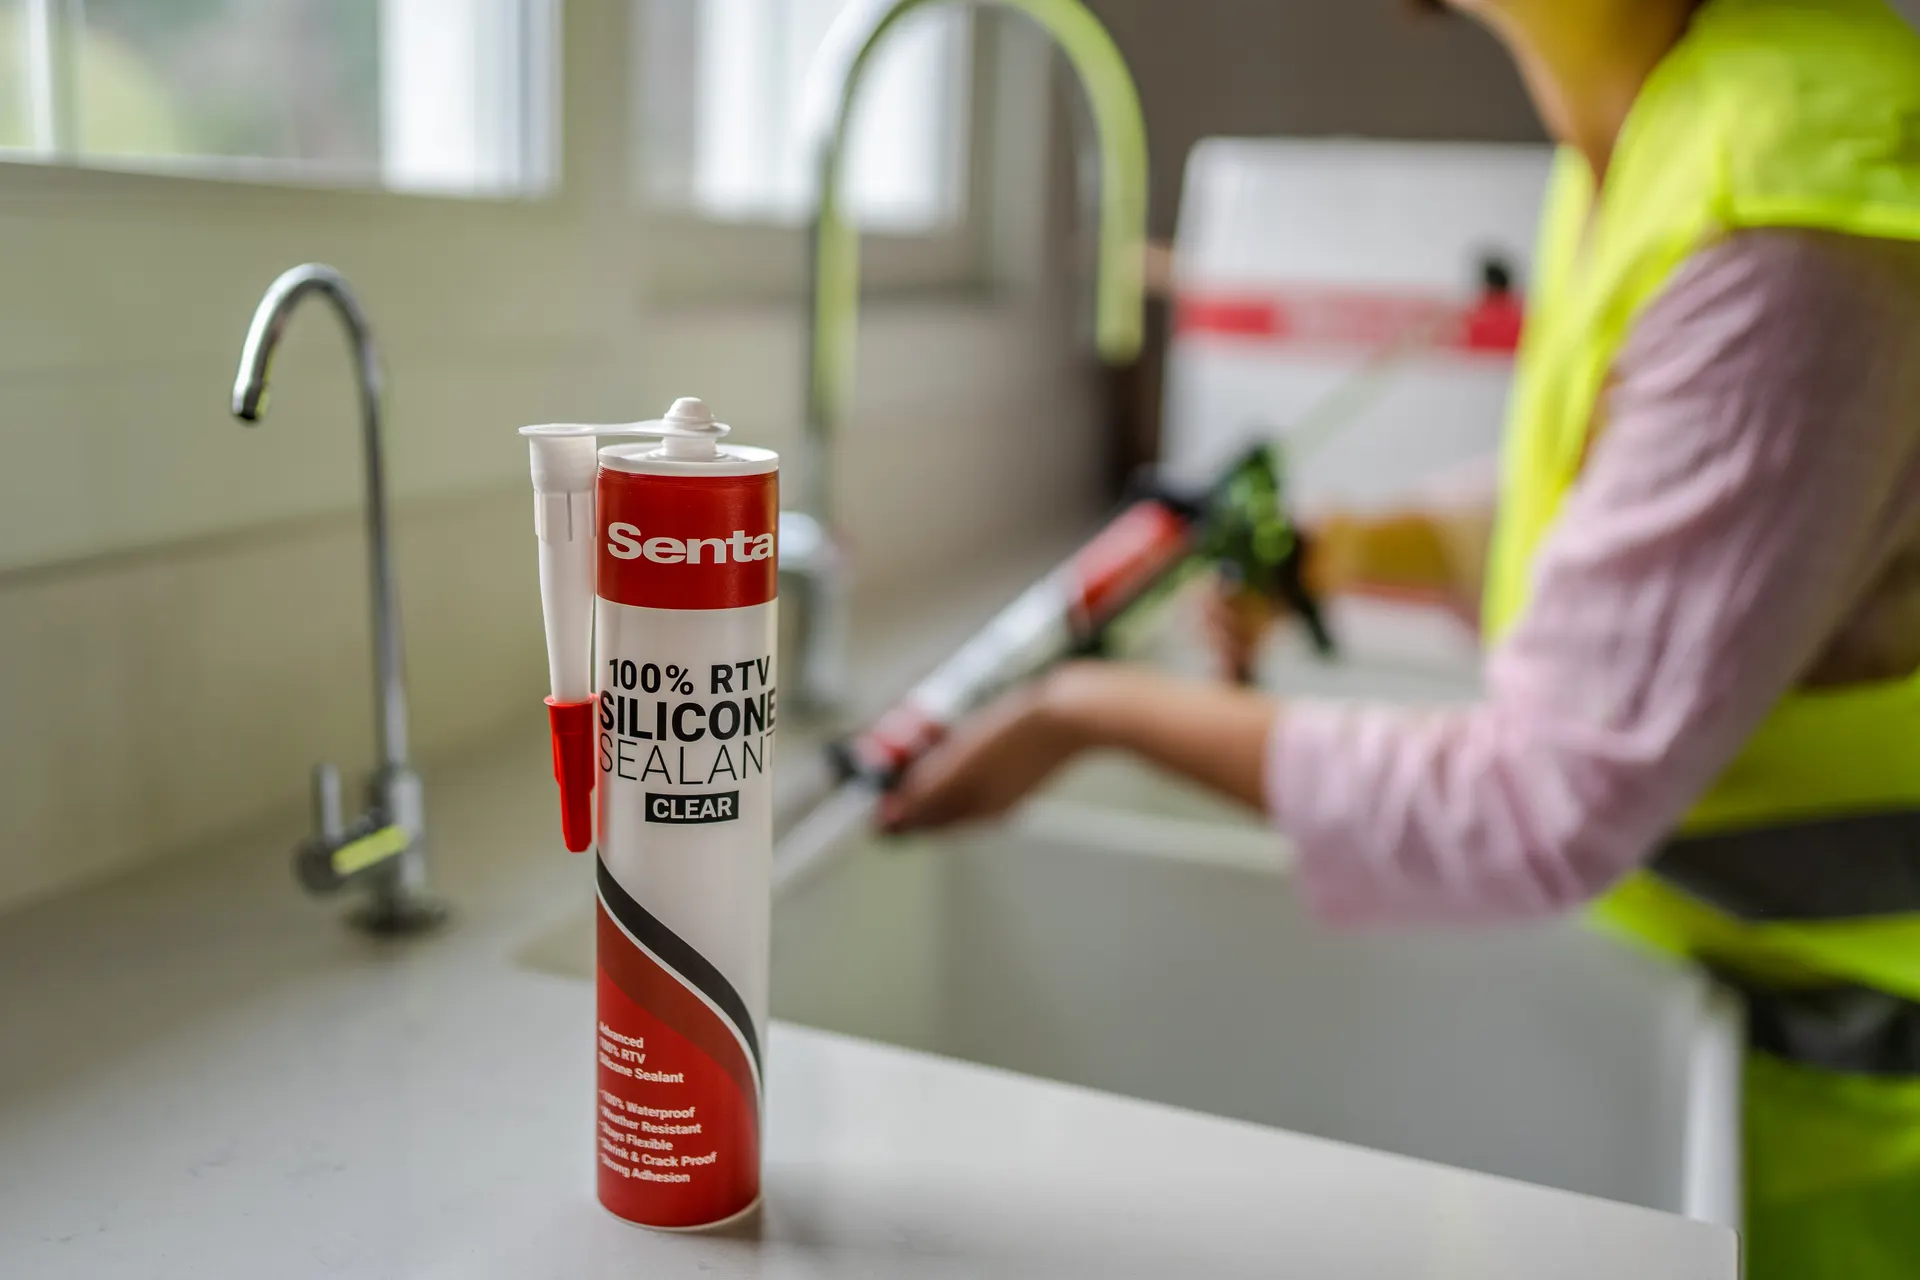
Senta 100% RTV Silicone adheres to glass, metals and most common non-porous building materials and is mold and mildew resistant, which suits the wet, greasy area behind a sink or range. It is an acetoxy silicone, so it is not recommended on porous natural stone, concrete or other porous surfaces, and should not be used on copper or brass trim. It is also not paintable.
Senta Siliconized Acrylic Latex Caulk is paintable after curing and suits porous surfaces like wood and plaster. Use it where the backsplash meets a painted wall or wood trim, away from areas that stay wet.
If you are unsure, our article on silicone vs. acrylic caulk breaks it down.
Tools and materials
- Sealant (see table above) and a caulking gun
- Utility knife or grout saw (to clear grout from the joint)
- Vacuum or brush
- Isopropyl alcohol and lint-free rags
- Painter's tape
- Smoothing tool or gloved finger
- Gloves and ventilation
How to caulk a backsplash, step by step
- Clear the joint. If grout was used along the countertop, remove it with a grout saw or utility knife. Remove any old caulk too. Vacuum out dust and debris.
- Clean the surfaces. Kitchens collect grease. Wipe both the tile edge and the countertop with isopropyl alcohol until a clean rag comes away clean.
- Let it dry. Make sure no water is trapped in the joint.
- Tape both sides. Put painter's tape on the countertop just below the joint and on the bottom row of tile just above it. Tape inside corners on both walls.
- Cut the nozzle small. Backsplash joints are usually narrow, often 1/8 inch or so. A small 45-degree cut gives you control.
- Run the bead. Start in a corner and move at a steady pace along the joint. Fill it completely without large overfill.
- Tool right away. For Senta silicone, tool within 5 minutes. Use one smooth pass with a smoothing tool or gloved fingertip.
- Pull the tape immediately, at a low angle, folding it onto itself.
- Let it cure. Senta silicone cures at 1/8 inch bead per 24 hours. Avoid splashing or wiping the joint for at least a day and ventilate the kitchen while the vinegar smell fades. For acrylic caulk, keep the joint dry for at least 2 hours, and check the TDS before painting.
Matching the color
- Clear silicone lets the tile and grout color show through and works with most designs.
- White suits white tile and light grout.
- Translucent white softens the line without looking stark.
Senta silicone comes in white, clear and translucent white, with custom colors available on request. Our guide to clear, white or translucent white silicone can help you choose.
Common mistakes
- Grouting the countertop joint, then watching it crack
- Using acetoxy silicone on a granite or marble countertop
- Using silicone where you plan to paint
- Caulking over grease, which causes peeling
- Making the bead too wide; a thin, neat line looks more professional
For a seam behind the sink that blends with most tile, Senta 100% RTV Silicone in Clear is a practical pick.
FAQ
Should I grout or caulk where the backsplash meets the countertop?
Caulk it. That joint is a change of plane where materials move independently, and rigid grout tends to crack there. A flexible sealant handles the movement.
What caulk is used for a backsplash?
A 100% silicone is common for non-porous tile and countertops. For natural stone, use a stone-safe, neutral-cure sealant recommended by the stone supplier. Where the joint will be painted, use siliconized acrylic latex.
Can I caulk over grout on a backsplash?
It is better to remove the grout from the countertop joint first. Sealant bonds better to clean tile edges and countertop than to crumbling grout.